Congratulations! You won your first qualifier, threw down the gauntlet, and got the racing world's attention. The spotlight is on you again for the first time in two years. Now it's time to take that momentum and turn that ripple into a tsunami. Welcome to Week 2 of Need For Speed Unbound's story mode! Please refer to Week 1 for more detailed information on the basics as many things I'll discuss are built around what I've said there.
Moving forward, police activity will increase the following day after a qualifier, starting your day with Heat Level 1. While this doesn't shake progression too much, it's something to be mindful of when deciding what events to race in. Always be aware that whatever event you participate in, you'll gain heat plus 1. So if an event gives two heat levels, you'll be at level 3 by the end of the first race. This will usually result in level 5 heat come nighttime, so don't bite off more than you can handle. With that said...

Meet LPD's Finest (A Breakdown By Level)
At this point in the game, players would have tangoed with the best that LPD offers, but what exactly does each heat level entail? How can the player prepare for the onslaught of law enforcement heading their way at the end of each event? Here's a breakdown of each Heat Level from Lakeshore's Police Department
Level 0-1
Patrol cruisers will roam the streets as early as Level 0, but they will not engage with the player unless provoked. I mentioned previously that you could "bully" these guys and gain max-level nitrous for taking them out. There are challenges that require you to take out "X" number of cops, so this also helps in completing the objective. At Level 1, they will begin to chase you but they are easily outrun and are a minor nuisance when you're meters away from an event only to grab their attention.
Level 2
AWD Units will enter the roads and police intensity will increase accordingly. These big SUVs are rugged compared to cruisers and can push lighter cars off the road. You could still disable one with burst nitrous, but the harder the hit the greater health you lose as it affects your car. All in all, Level 2 is not that much different from Level 1.
Level 3
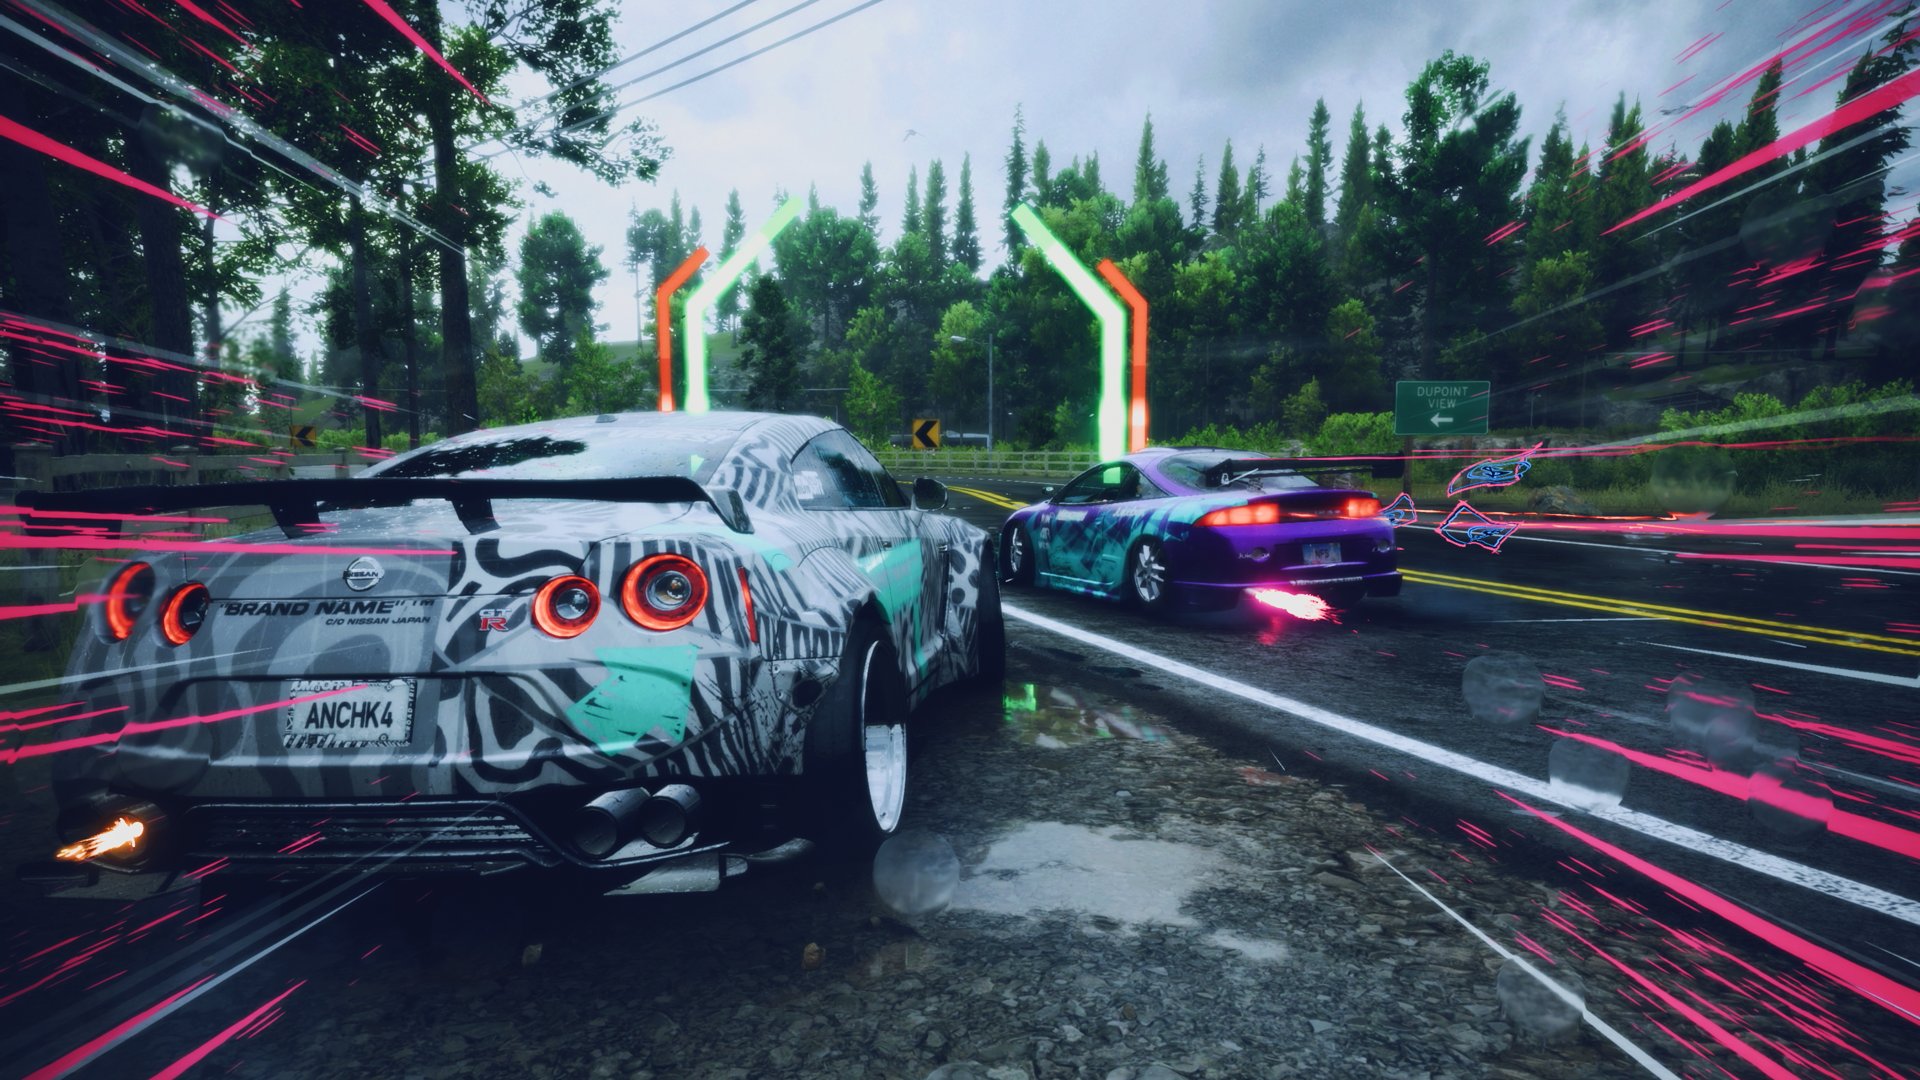
High-speed cruisers will now join the fray, based on Corvettes, and will catch up to the player, unlike the previous tiers. This is where outrunning the cops will become a challenge as they will put up as much of a fight as the street racers themselves. The 'Vettes are not as sturdy as the AWD and are on par with the Level 1 cruisers. The difficulty lies in pinning one of them down before they do the same to the player. Roadblocks will also be deployed, but these can easily be driven around or avoided altogether.

Level 4
Personally, the most annoying level as Undercover Police will begin to spawn, adding yet another layer to police chases; The element of "surprise." Up until now, the player has been relying on cop scanners and GPS to detect where the police are at all times. These guys are not only undetectable in the police scanner, but also on the mini-map as well, meaning players will need their eyes glued to the road. There's nothing more annoying than trying to avoid attention only to see the "Spotting" detection go off and having to deal with the ninja police.
Level 5
Unless, of course, you have to deal with a police unit that flies above ground, constantly updating your position to other nearby units. The final heat level introduced the SWAT pick-up truck, which is essentially a superior AWD Unit. These guys are like tanks and unless your car is built for dueling with these titans. However, it is the helicopter that's the star of the show as you can evade ground units, yet the bird will always trail your last known position. It also has a wide view of the surveying area, meaning it's incredibly difficult to get out of its line of sight.
The helicopter's main weakness is that if its view is obstructed, it can't track your position. Driving alongside underpasses, entering buildings, or any area where your car can be concealed will disrupt the choppers and lose sight of your car. Be sure to do this at a location where a cop won't randomly spawn or else you'll be a sitting duck. Cops will also deploy spike strips along with roadblocks and running over them will temporarily disable your car. It won't end a pursuit, but the time spent stalling will make things difficult to escape.
The cops in Need For Speed Unbound require strategy alongside speed to overcome the potential loss of your earnings during each session. When the stakes are higher the further you progress, losing out on 100k becomes a much harder loss than in the early stages of the game. The payouts are bigger and so are the risks.

The Need For Speed and High Stakes racing
Several new types of races are added in Week 2, each offering larger buy-ins but potential prizes for winning them. The biggest ones are Head To Head and Podium Races. Head To Head pits the driver against another racer where the winner claims the grand prize and the loser gains nothing.
There's also a variant called Winner Takes All, but instead of racing one-on-one, you're facing an entire grid. Podium races are granted rewards for a top-three finish. This means that it's almost a requirement to side bet just to get a little extra dough onto your earnings. There's almost no downside to betting as you're going to lose money should you lose the race anyway. Might as well take the victory and make it even sweeter!

Getting Your Hands Dirty With Deliveries
Tess's missions requires the drive to deliver a car with rewards granted based on its condition. As soon as the mission begins a pursuit begins. The cops will do everything in their power to stop you, which means a banged-up ride. How do you prevent delivering a vintage Testarossa from looking like it came from the junkyard? Easy, don't sweat it. The player's top priority should be evading the cops or else there won't be a car to deliver.
What happens after you evade pursuit and your car is worse for wear? As it turns out, gas stations recover a car to full health much like it would in general. This effectively gives you a reset, restoring your car's condition to 'Pristine'. Try searching for a gas station once you evade pursuit then carefully reach your destination to net the largest possible reward for free. Just be mindful that gas stations reset every four minutes so if you end up in another pursuit, you have to once again repeat the process. Good thing there's no timer in delivering vehicles.
The Prize Cars For Week 2 Are Worth Your While
This time, the cars you obtain as prizes are a well-rounded group of iconic cars; The Mazda RX8, the Mitsubishi Lancer Evolution 9, and the Aston Martin DB6. The Evo is an incredible car to have as your "Starting 4" for The Grand as it has almost all of the benefits of the Eclipse GSX. It's faster off the line and it can be tuned for grip or drift. Personally, I have it set towards Drift for events that feature Drift Events, but it handles just as fine during race events.
The same can be said for the Mazda RX8 although tuning this car is a bit of a challenge. It has a very high powerband, revving out in the 8k range, meaning that adding torque to the car helps a lot. Parts like a Supercharger will help with its acceleration but its average top speed makes it better for closed circuits and city races. It's still an impressive vehicle in its own right and a fan favorite.
Unfortunately, the DB6 is more of a novelty car as it's known more for being the "James Bond" car. Still, it's a fun car to keep in the garage and upgrade with a swapped engine if you want a project car. As I mentioned during Week 1, you can always liquidate cars you don't need for added funds but use discretion.
Need For Speed: Underground(hog Day?)
This information is useful for any week in Unbound but this specifically happened to me in Week 2. I was busted on Friday night, the day before the qualifier, losing out on my cash while also not making enough to buy in the race. If you don't meet the requirements to enter the big race, it's Game Over and you have to start all the way from the beginning of the week and do everything all over again! Fortunately, that was a lie and the impact is far less severe than starting the entire week over. You just have to redo Friday again until you make enough to fulfill the requirements.
The amount of cash earned doesn't reset, meaning if the buy-in is 50k and you start Saturday with 45k, you'll return to Friday with 45k with reset events. This can be strategized by entering races where you do not receive a cash payout (such as races with a car as a prize), ending the night, and resetting the day as is. The player does not lose out on the car they've earned, but only the races get reset. This means if you made any money from deliveries, you cannot redo those deliveries as you've already unlocked the car tied to it.
Of course, you can also sell one of your cars, but the idea of earning more money is far more lucrative than getting rid of one of your vehicles in this scenario. If you happen to sell a car and it nets you enough for the qualifier, then by all means.

Passing The Aux Cord - Your Second Auxilary Part
In Week 1, I mentioned the Damage Increase aux as a suggestion for your first Axuilary Part. This is a way to fight back when law enforcement is on your bumper and you want to escape one-on-one. In later heat levels, the number of cops that spawn increases exponentially, meaning you're prone to get battered if you attempt to fight back. This is where your second aux part comes in. Ideally, I'd recommend having both the Damage Increase and Reduction parts, but you can have only one of each type and not both. To remedy this, I suggest Repair Kits, specifically from the highest tier.
Upgrading the garage as soon as possible is important to unlock higher-tiered parts and this helps a lot with Auxiliaries. The highest-tiered Repair Kit gives you three extra lives should you enter Critical Damage. I'd make the argument that this is more important than Damage Reduction as having four lives over one life with extra health means you're in the fight a lot longer. Other niche options include Undercover Driver and Getaway Driver.
Undercover Driver increases the time it takes for cops to notice you on the road, which is very useful during deliveries and Safehouse missions where you start with a pre-existing heat level. Getaway Driver does the exact opposite, increasing the frequency of reinforcements.

While the bonus money the player receives from escaping pursuits is lucrative, this auxiliary is meant to provide players a challenge as pursuits can easily last triple the amount of an average one. If you can consistently engage and escape, you'll make a lot of money, but in this stage, it's all about survival.
And that just about wraps it up for Week 2. Win the qualifying race as usual and you'll earn a modified Crown Vic as a prize. Moving on to Week 3, things get a little intense both in the story and in racing, so take in the calm before the storm as you can!
Need For Speed Unbound is now available on the PlayStation 5, Xbox Series X/S, and PC.